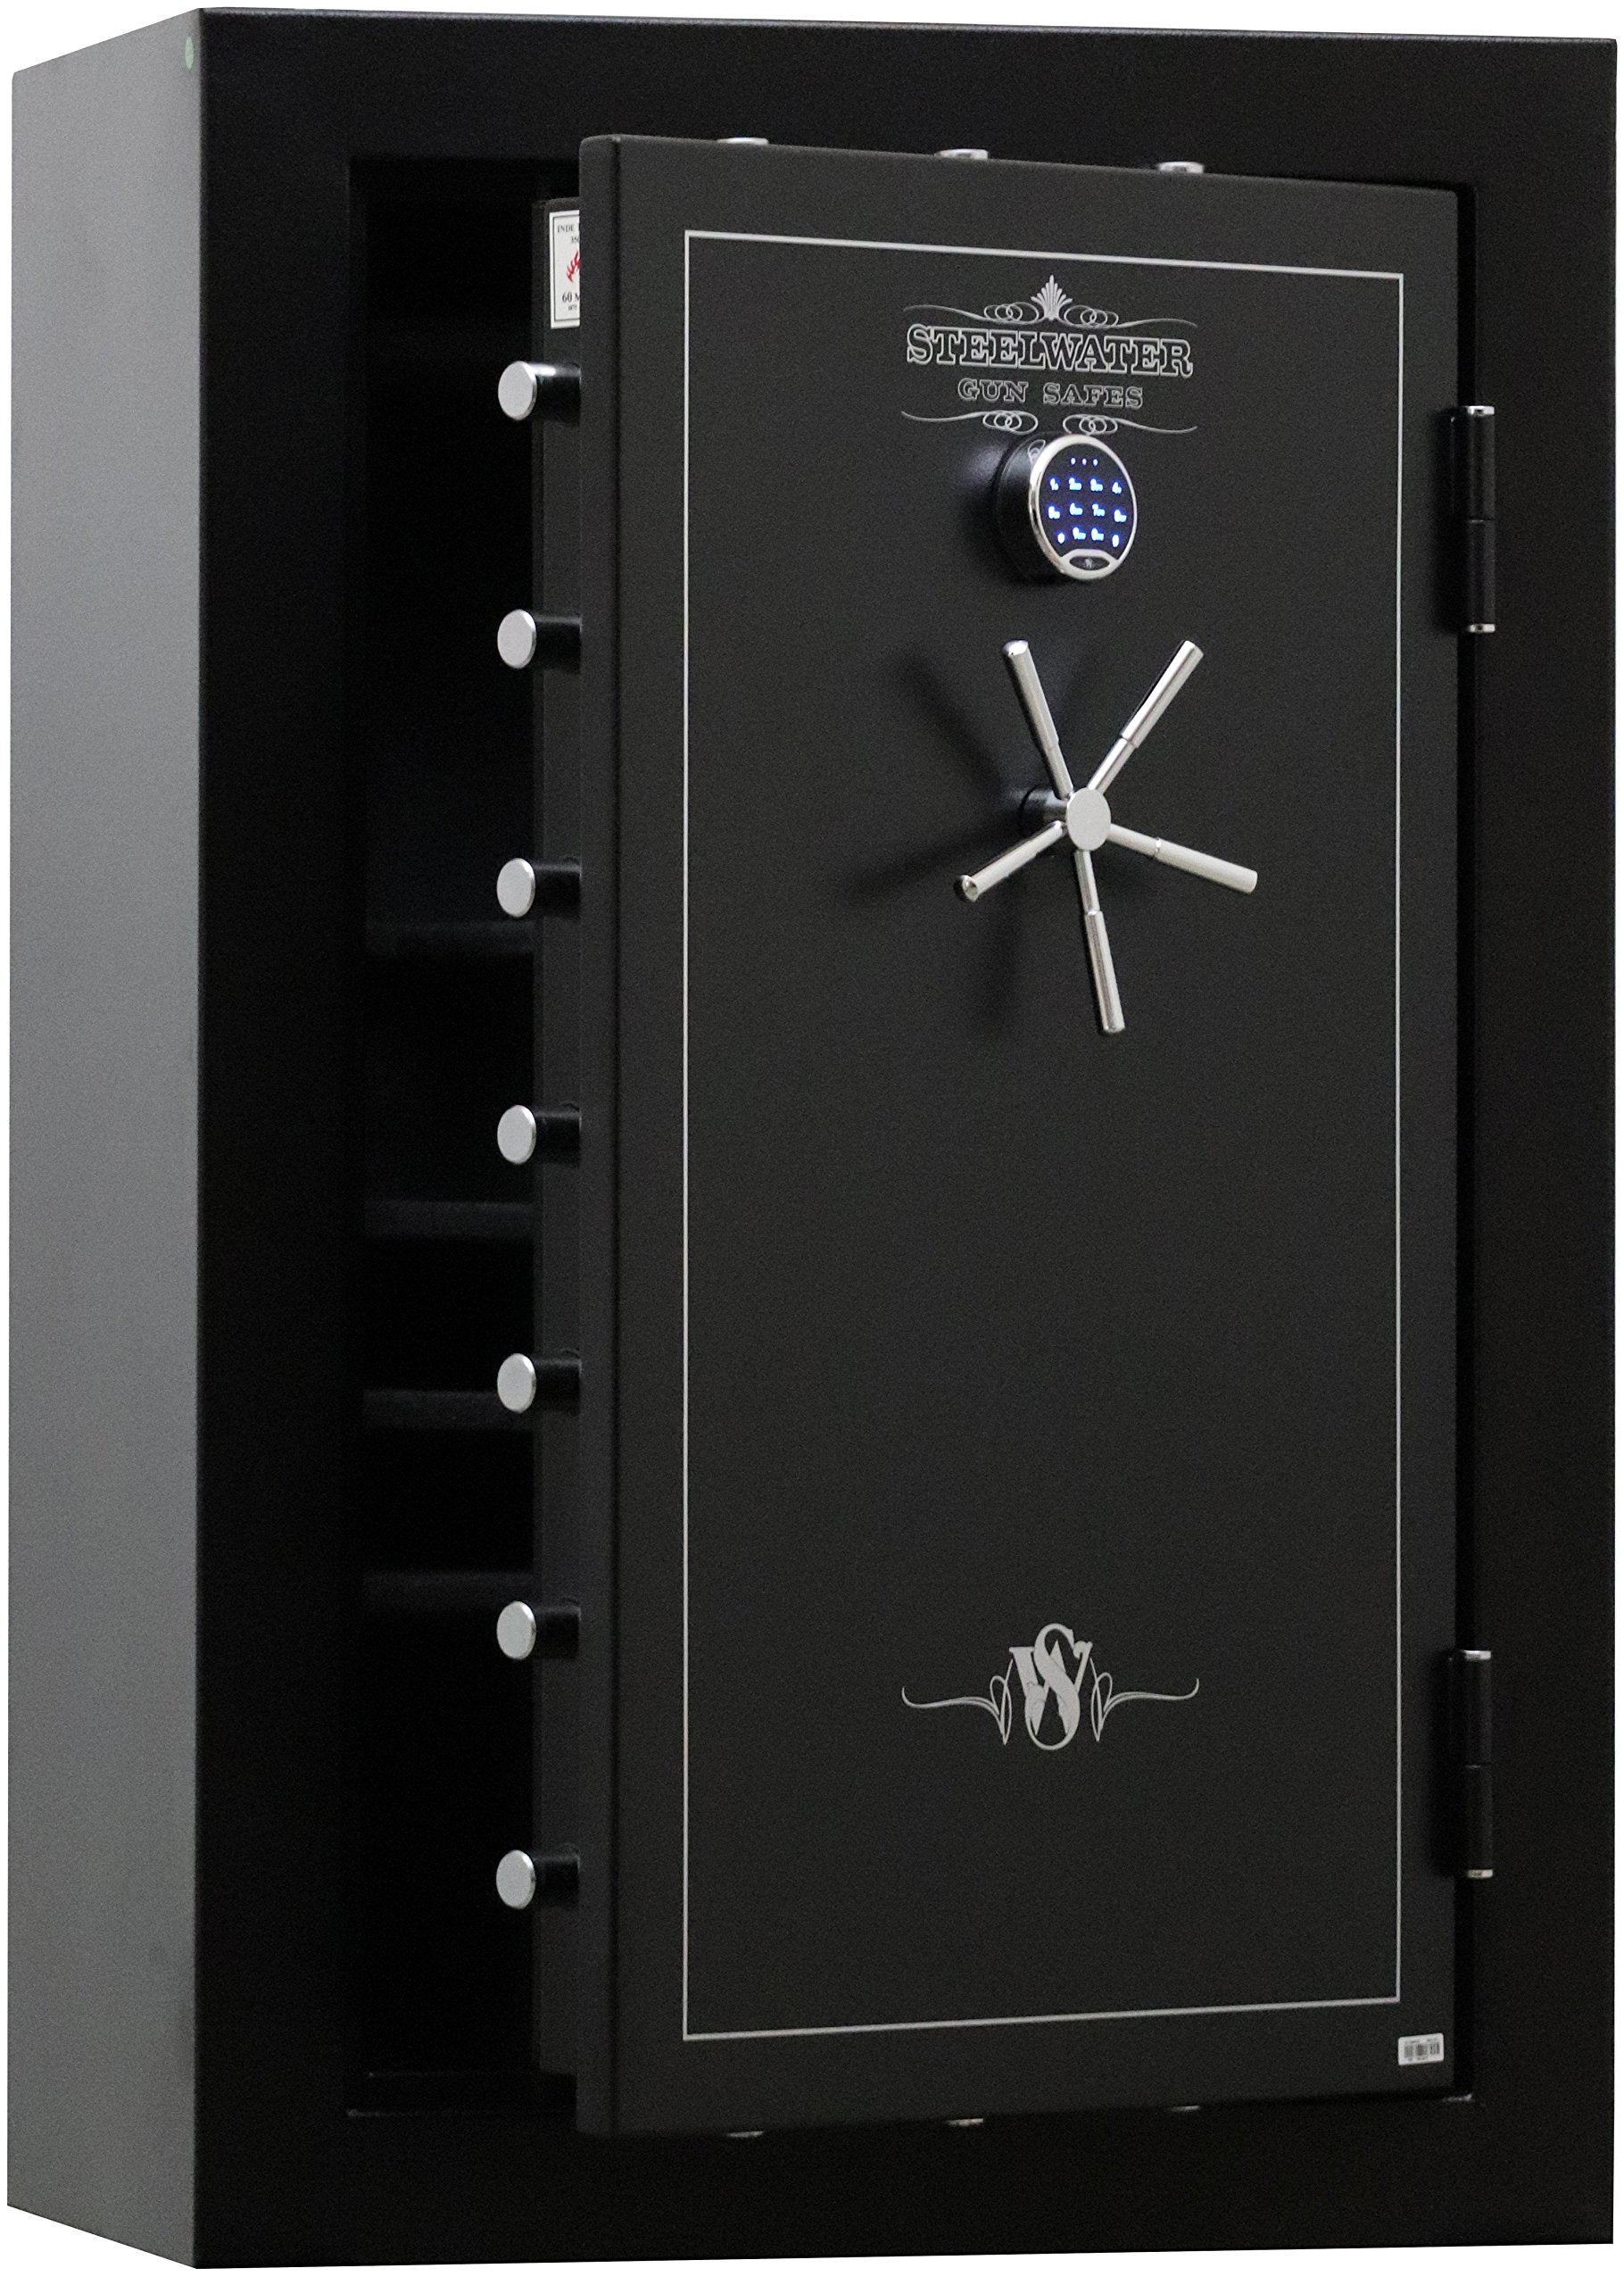
I have installed and bolted dozens of Steelwater safes in homes and shops. I know what works, what fails, and what saves time. This guide shows you how to bolt down a Steelwater gun safe the right way. It is simple, steady, and safe. I will walk you through tools, floors, anchors, and steps. I will also share mistakes to avoid and pro tips. If you want your safe to stay put, this is for you. You will see the exact steps for how to bolt down a Steelwater gun safe, with clear, tested advice.

Source: www.amazon.com
Why Bolting Down Matters For Steelwater Safes
A heavy safe is not enough on its own. A team with a dolly can still move it. Bolting the safe stops tipping, prying, and theft. It also protects your warranty and insurance in many cases.
Here is what bolting down does for you:
- Stops tilt attacks. Thieves try to tip a safe to gain leverage.
- Blocks removal. Anchors make a grab-and-go almost impossible.
- Adds fire safety. A fixed safe stays clear of falling hazards.
- Helps claims. Many insurers prefer or require anchoring.
- Protects your people. It prevents accidents with kids or pets.
From my field work, a bolted safe cuts risk by a lot. On wood or concrete, the right anchor makes all the difference.

Source: www.amazon.com
Tools And Materials You Will Need
Match tools to your floor. Steelwater safes include pre-drilled anchor holes in the floor.
For concrete:
- Hammer drill with masonry bits matched to your anchor size
- Wedge anchors or sleeve anchors, 3/8 inch or 1/2 inch
- Vacuum and brush for dust removal
- Depth stop or tape for drill depth
- Socket wrench set and torque wrench if you have one
For wood subfloors:
- Drill/driver and sharp wood bits
- Heavy lag screws, 3/8 inch diameter, length 3 to 4 inches
- Large fender washers
- Stud finder to locate joists
- Pilot bit sized for lag screw shank
General items:
- Tape measure and marker
- Level
- Pry bar or dolly with straps
- Safety glasses, ear protection, gloves
- Shims to level the safe
- Rust inhibitor or epoxy for hole edges on concrete

Source: www.amazon.com
Plan The Location And Check The Floor
Pick a spot with structure under it. Corners and along exterior walls are best. Limit pry access on the hinge side if you can. Make sure the door can open fully.
Do these checks:
- Find obstacles. Look for pipes, wires, radiant heat, and post-tension slabs.
- For concrete. Tap test and check slab thickness. Avoid post-tension cables. If unsure, consult a pro.
- For wood floors. Find joists and measure spacing. Aim to anchor into joists, not just subfloor.
- Check for level. Use shims to level now. A level safe keeps the lock smooth.
- Confirm clearance. Allow space to remove the door panel and access anchor holes inside the safe.
Tip from the field: If you live upstairs, check floor load. Many Steelwater models weigh 400 to 1,000 pounds empty. Add guns and shelves, and you can exceed limits.

Source: www.amazon.com
Prep The Safe And Mark The Holes
Steelwater safes have anchor holes in the floor panel. You will access them from inside the safe.
Steps:
- Empty the safe. Remove shelves and contents.
- Open the door wide. Remove the floor mat and interior bottom panel if present.
- Place the safe in final position. Level it with shims.
- From inside, mark hole positions onto the floor with a marker.
- Move the safe aside a few inches if needed to drill. For very heavy units, mark through each hole and drill with the safe in place if you have clearance. Use vacuum while drilling.
Practical note: Keep the door closed and locked when moving the safe on a dolly to protect the hinges. Keep fingers clear.

Source: www.amazon.com
Drill The Floor And Install Anchors
Concrete anchors:
- Choose wedge or sleeve anchors. I favor 1/2 inch wedge anchors for most Steelwater sizes.
- Use the bit size that matches the anchor. Check the anchor label.
- Set a depth stop. Drill at least the embed depth plus 1/2 inch.
- Drill straight. Vacuum dust from the hole. Brush and vacuum again. Clean holes grip better.
- Insert wedge anchors. Tap them flush with a hammer.
- If the hole feels loose, use a sleeve anchor or epoxy anchor system.
Wood anchors:
- Locate joists with a stud finder and a small test hole.
- Drill a pilot hole sized to the lag screw shank, not the threads.
- Use a large washer under the lag head for better clamp force.
- Do not rely on subfloor alone. Tie into joists for strength.
Tip: On concrete, a tight, clean hole is the secret. Most failures I see come from dusty holes or wrong bit size.
Bolt The Safe And Verify Security
Final attachment:
- Slide or lift the safe back over the anchors or pilot holes.
- Align holes from inside the safe.
- For wedge anchors. Add washers and nuts inside the safe and hand-tighten.
- For sleeve anchors. Same process, then snug with a wrench.
- For lag screws in wood. Use a socket to drive them in. Do not strip the wood.
Torque and checks:
- Tighten each fastener in a cross pattern.
- Typical wedge anchors: snug, then add 2 to 3 full turns. If you have a torque spec from the anchor maker, use it.
- Try to rock the safe. It should not move.
- Check door gap and lock. Opening and closing must be smooth. Adjust shims if needed and retighten.
Seal:
- For concrete, a light bead of clear sealant around holes inside the safe helps with moisture. Optional but useful.
Common Mistakes And How To Avoid Them
Avoid these pitfalls:
- Using the wrong anchors. Match anchor type to floor type and thickness.
- Drilling through radiant heat or post-tension slabs. If unsure, stop and consult a pro.
- Skipping hole cleaning. Dust reduces holding power by a lot.
- Anchoring to thin subfloor only. Always catch joists on wood floors.
- Overtightening. You can crush fireboard or deform the safe floor.
- Poor placement. Do not block egress or HVAC access.
- Ignoring humidity. On basement slabs, use a moisture barrier under the safe.
From my jobs, the number one fix call is loose anchors from dusty holes. The number two is missed joists. A few careful checks save hours later.
Maintenance, Checks, And Insurance Tips
Do quick checks twice a year:
- Retighten anchor nuts if they loosen.
- Inspect for rust at anchor points.
- Check shims and level.
- Test the lock and door swing.
Insurance and documentation:
- Take photos of the anchors and final setup.
- Keep receipts for anchors and work.
- Some carriers give discounts for anchored safes. Ask your agent.
When to call a pro:
- If you have a post-tension slab.
- If the safe must go on a high floor with unknown load capacity.
- If you lack the tools to drill concrete safely.
Manufacturer notes:
- Steelwater manuals support anchoring through factory holes.
- Do not drill new holes in the safe body. It can void warranties and reduce fire protection.
Troubleshooting And Pro Tips
If a hole is off by a bit:
- Use a larger washer inside the safe to bridge minor misalignment.
- For concrete, consider a sleeve anchor which is more forgiving.
If the slab chips:
- Clean debris. Use a slightly deeper hole and a longer anchor.
- Add epoxy anchor adhesive for extra hold.
If the safe rocks:
- Add non-compressible shims at the base corners.
- Tighten anchors after shimming.
Pro tips I use:
- Place a thin rubber mat or moisture barrier under the safe on basement slabs.
- Pre-fit anchors through the safe holes before drilling to confirm fit.
- Mark anchor nuts with a paint pen. You can see if they back off over time.
- Hide the anchor nuts with the floor panel and mat for a clean look.
Frequently Asked Questions Of How to bolt down a Steelwater gun safe?
Do Steelwater safes come with pre-drilled anchor holes?
Yes. Steelwater safes include pre-drilled anchor holes in the floor. You access them from inside the safe after removing the bottom panel.
What size anchors should I use for concrete?
Most installs use 3/8 inch or 1/2 inch wedge anchors. I favor 1/2 inch for large safes. Match your drill bit to the anchor size as specified by the anchor maker.
Can I bolt to a wooden floor?
Yes, but aim for joists. Use 3/8 inch lag screws 3 to 4 inches long with large washers. Do not rely on subfloor alone.
Will bolting down affect the fire rating?
Using the factory anchor holes does not reduce the fire rating in normal use. Do not drill new holes through the safe body or walls.
How many anchors do I need?
Four anchors, one in each corner, is standard. For smaller models on wood, two into joists may work, but four is better.
What if I have radiant floor heating or a post-tension slab?
Do not drill until you confirm layout and depth. Use plans, inspection tools, or a professional installer. Safety first.
Can I move the safe after bolting it down?
Yes. Remove the nuts or lag screws, slide the safe, and reinstall. Fill old concrete holes with repair mortar if needed.
Should I use epoxy anchors?
Epoxy anchors give great hold in weak or cracked concrete. They take more time and curing. Follow the adhesive maker’s instructions.
Do I need a permit to anchor a safe?
Usually no. But local codes vary, and some condos have rules. Check building policies before drilling.
How tight should the anchor nuts be?
Snug first, then add 2 to 3 turns. If the anchor maker lists a torque value, use it with a torque wrench.
Conclusion
You can bolt down a Steelwater safe with confidence using the steps above. Pick the right spot. Match anchors to your floor. Drill clean holes. Tighten with care. Do quick checks twice a year. Small details make a big difference in security and safety.
Take action today. Gather your tools. Mark your holes. Anchor your safe and sleep better tonight. If you found this helpful, subscribe for more guides or drop a comment with your setup questions.
Watch This Video on How to bolt down a Steelwater gun safe?

