To build a gun cabinet, select a design, gather materials, and follow a step-by-step guide. Ensure you adhere to safety and legal standards throughout the process.
Exclusive Deals
Limited-time Exclusive Deals. Check current discount on Amazon.
Check Price on Amazon As an Amazon Associate I earn from qualifying purchases.Building a gun cabinet is not only about creating a storage space for your firearms; it’s about ensuring the safety and security of your home while displaying your collection with pride. As a responsible gun owner, you’ll want your cabinet to be sturdy, lockable, and in compliance with local laws concerning firearm storage.
A customized gun cabinet can also add a personal touch to your home decor. This project requires basic carpentry skills, but with precise measurements, the right tools, and a clear set of instructions, even a novice DIY enthusiast can construct a functional and aesthetically pleasing gun cabinet. Before starting, make sure to consider the size of your collection, the space where the cabinet will go, and the type of wood that will best suit your needs.
Crafting A Gun Cabinet: Preparation Steps
Building a gun cabinet requires careful planning and attention to detail. Before diving into the assembly, let’s focus on what’s needed. Setting the stage correctly ensures a smoother construction process. Follow these preparation steps to craft your very own gun cabinet safely and efficiently.
Materials And Tools Required
Gather all necessary materials and tools before starting. It helps avoid interruptions during the building process. Check the list and tick each item as you go. The following are essential:
Exclusive Deals
Limited-time Exclusive Deals. Check current discount on Amazon.
Check Price on Amazon As an Amazon Associate I earn from qualifying purchases.- Quality wood: Pick the type suited for your design and environment.
- Wood glue for bonding pieces firmly.
- Screws and hinges: Ensure they’re the right size.
- Drill: Needed for precise holes.
- Screwdriver to attach screws correctly.
- Saw: For cutting wood to the right dimensions.
- Sanding paper: To smooth out rough edges.
- Lock mechanism: For securing firearms.
- Measure tape: Precision is key in measurement.
- Wood finish: To protect and enhance the cabinet.
Safety Precautions
Keeping safe is as important as the build itself. Wear protective clothing, and follow these steps:
- Wear safety goggles to shield your eyes.
- Put on ear protection when using noisy tools.
- Use dust masks to prevent inhalation of sawdust.
- Keep your workspace clean and organized.
- Read manuals for any new tools used.
- Have a first-aid kit nearby for emergencies.
Review these steps carefully, prepare your workspace, and ensure you have everything necessary for a successful build. Each step counts towards creating a sturdy, long-lasting gun cabinet.
Designing Your Gun Cabinet
Building a gun cabinet requires careful planning and a clear vision. The design phase is critical to ensure safety, accessibility, and space efficiency. Proper dimensions and materials will not only contribute to the cabinet’s functionality but also to its appearance. Let’s walk through the pivotal steps of designing a sturdy and stylish gun cabinet.
Choosing The Right Dimensions
Begin by assessing your collection. Adequate space for each gun is essential. Consider future acquisitions to avoid outgrowing your cabinet too soon. Standard gun cabinets vary in size, but personalizing dimensions ensures a perfect fit for your needs. Measure the height, width, and depth based on your available space and the number of firearms.
Selecting Wood And Finish
Wood selection sets the tone for durability and aesthetics. Hardwoods such as oak, cherry, or maple provide longevity and a grain that stands out after finishing. Pine is a budget-friendly alternative but less resistant to wear. Choose a finish that not only protects the wood but also complements your home decor. Options include stains, sealants, or paints—a clear coating will emphasize the wood’s natural beauty, whereas paint can offer a uniform look.
Exclusive Deals
Limited-time Exclusive Deals. Check current discount on Amazon.
Check Price on Amazon As an Amazon Associate I earn from qualifying purchases.| Wood Type | Characteristics | Finish Options |
|---|---|---|
| Oak | Durable, prominent grain | Stain, varnish |
| Cherry | Rich color, ages well | Oil, sealant |
| Maple | Hard, light color | Lacquer, paint |
| Pine | Softwood, economical | Stain, paint |
Cutting And Assembling The Pieces
Building a gun cabinet calls for precision and strength in every step. This section details how one must cut and assemble the wood pieces. The right cuts will set the stage for a sturdy and secure cabinet. Understand every measurement and practice solid joinery techniques for lasting durability.
Subheading: Measurements and MarkingsMeasurements And Markings
- Double-check dimensions for every piece against your plans.
- Use a tape measure for accuracy.
- Mark lines with a pencil and square.
Consistent measurements are key to a snug fit. Take your time for precision.
Subheading: Joinery Techniques for DurabilityJoinery Techniques For Durability
- Select durable joints like dovetails or rabbets.
- Glue joints before assembly.
- Use clamps to hold joints while glue dries.
Strong joints make a long-lasting gun cabinet. Invest effort in creating tight, flawless connections.
Assembly Steps in Ordered List- Cut all wood pieces to exact measurements.
- Smooth edges using a plane or sander.
- Assemble the frame starting with the sides and back.
- Attach the top and bottom for structure.
- Fit in shelves, door, and lock components.
Follow each step with care. Your gun cabinet will come to life as you progress.
Include external JS references if needed
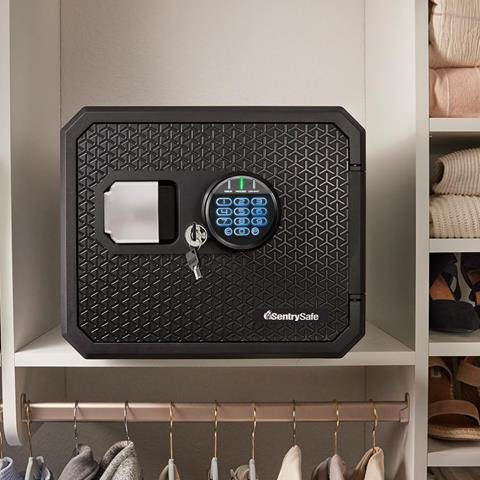
Installing Security Features
Installing security features in a gun cabinet is vital to ensure firearms stay safe and out of the wrong hands. A solid gun cabinet combines robust locking systems with durable materials. Let’s step through the essentials.
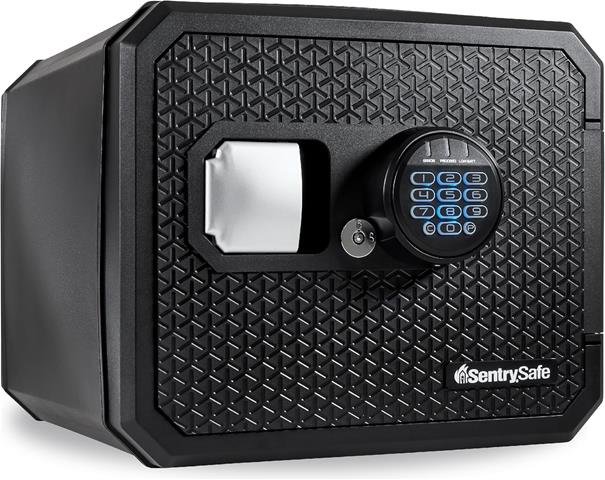
Locking Mechanisms
Securing firearms requires an effective locking system.
- Choose a high-quality lock that resists picking and drilling.
- Consider biometric locks for quick, personalized access.
- Key locks should have unique keys that are not easily duplicated.
- For added security, use a combination of locks.
Reinforcements
The cabinet structure must withstand forced entry attempts.
- Add metal plates to vulnerable areas for reinforcement.
- Use thick, solid wood or heavy-gauge steel for the main body.
- Secure the cabinet to the floor or wall with anchor bolts.
Hinges
Strong hinges are the backbone of a secure gun cabinet door.
- Opt for heavy-duty hinges that can bear the weight of a robust door.
- Interior hinges offer better security as they are hidden when the door is closed.
- Consider hinges with built-in locking tabs for an extra layer of protection.
Finishing Touches
The final steps in building your gun cabinet involve giving it both protection and a polished appearance. It’s time to focus on the details that will make your cabinet not just functional, but a stunning piece of craftsmanship. From the smooth touch of the wood to the tailored look that complements your space, these finishing touches are key.
Sanding And Staining
Start with a thorough sanding. Use fine-grit sandpaper to smooth every surface. Your goal is a cabinet that feels silky to the touch. Pay close attention to edges and corners; they need to be soft and rounded to prevent splinters and snagging.
Choose a stain that matches your decor and enhances the wood’s natural beauty. Apply the stain with a soft cloth or brush, working with the grain. Multiple thin coats are better than one thick coat. Allow ample drying time between coats.
- Always sand before staining
- Toxic fumes warning: Work in a well-ventilated area
- Drying time matters: Rushing can ruin the finish
Sealing And Aesthetic Enhancements
Sealing is crucial for protecting your cabinet from moisture and wear. A clear polyurethane sealant works well. Use a high-quality brush or sprayer to apply sealant. Ensure even coverage to prevent drips and streaks.
Now, make it yours with aesthetic enhancements. Consider metal accents, glass panels, or engraved details. Quality handles and locks not only add beauty but also enhance security. Choose enhancements that reflect your personal style and the cabinet’s function.
| Enhancement | Benefits |
|---|---|
| Metal Accents | Durability and Style |
| Glass Panels | Display and Visibility |
| Engraved Details | Personalization and Flair |
- Sealant should dry for 24 hours
- Hardware installation is last
- Inspect the cabinet thoroughly
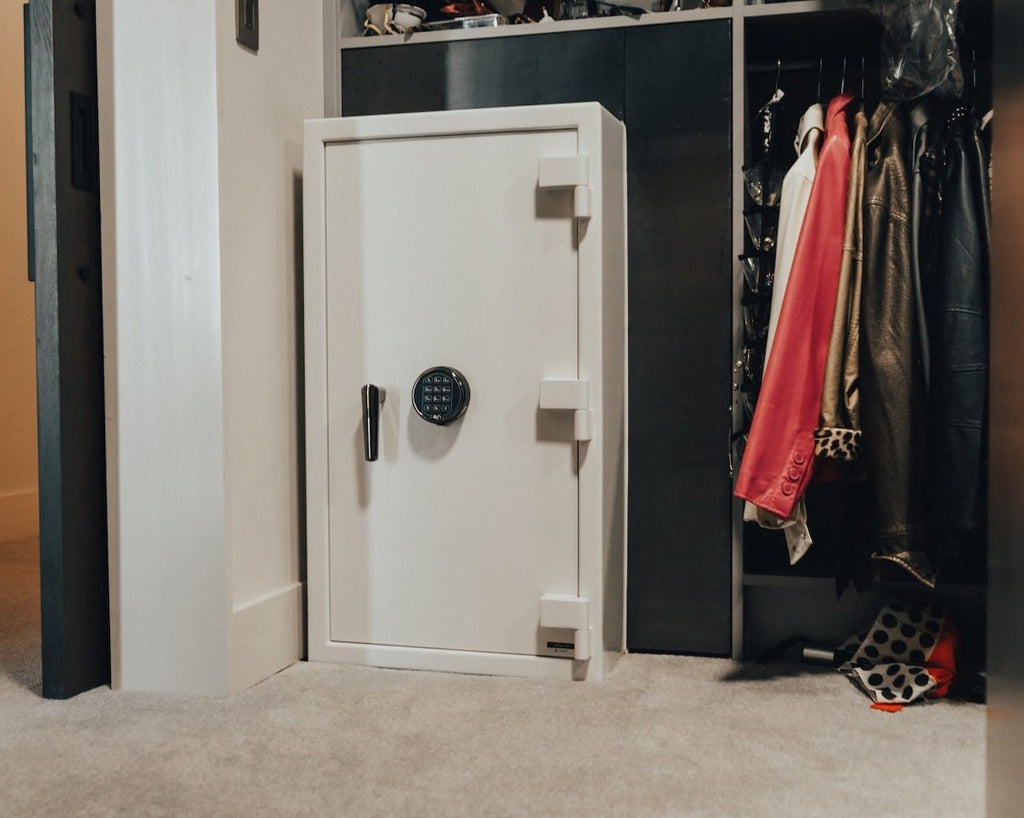
Mounting And Maintenance
With your gun cabinet assembled, it’s time to focus on mounting and maintenance. Proper installation ensures safety and accessibility. Regular upkeep guarantees a long-lasting storage solution for your firearms. Follow these steps for efficient wall mounting and advice on maintaining your cabinet over time.
Wall Installation Tips
Mounting your gun cabinet securely is crucial to prevent accidents and unauthorized access. Decide on a location away from humidity and direct sunlight to protect your cabinet and its contents.
- Locate wall studs using a stud finder for a sturdy attachment.
- Mark drill points on the wall aligning with pre-drilled holes in the cabinet.
- Use heavy-duty anchors and screws – suitable for your wall type – to ensure a robust mount.
- Double-check for stability before placing guns inside the cabinet.
Long-term Upkeep And Use
After installation, maintain your gun cabinet to guarantee its condition and safety. Protect your investment and ensure your firearms remain secured.
- Inspect the cabinet regularly for signs of wear or damage.
- Oil the hinges and locks yearly to prevent rusting and ensure smooth operation.
- Keep the cabinet clean from dust and fingerprints, which can attract moisture.
- Always handle firearms with care when placing or removing them from the cabinet.
You now have a comprehensive guide to mount and maintain your gun cabinet for years of reliable use. Keep up with these straightforward steps to cherish your range treasures safely.
Credit: nwsafe.com
Frequently Asked Questions
How Deep Should A Gun Cabinet Be?
A gun cabinet should be at least 10 to 15 inches deep to accommodate most firearms comfortably. Ensure it’s deep enough for your specific collection.
What Kind Of Wood Are Gun Cabinets Made Of?
Gun cabinets are typically made of durable woods like oak, cherry, maple, or pine for strength and aesthetic appeal.
How Far Apart Should Guns Be In A Gun Cabinet?
Guns should ideally be spaced at least 1 inch apart in a gun cabinet to prevent damage and allow for easy access. Always ensure they are unloaded for safety.
What Are The Dimensions Of A Gun Cabinet?
Gun cabinet dimensions typically vary, with common sizes being around 55 inches in height, 21 inches in width, and 10 inches in depth. Always confirm specific measurements for your chosen model.
Conclusion
Crafting your own gun cabinet can be a rewarding project. With clear steps and proper safety precautions, you’ve learned how to create a secure and stylish storage space for your firearms. Remember, precision and patience are key. By following this guide, you’ve taken your woodworking skills to the next level and ensured the safekeeping of your weapons.
Happy building and stay safe!