Most Crane humidifier issues are due to mineral build-up, clogged parts, or simple user errors.
Exclusive Deals
Limited-time Exclusive Deals. Check current discount on Amazon.
Check Price on Amazon As an Amazon Associate I earn from qualifying purchases.I have worked with home humidifiers for years and tested many Crane units. This guide on Crane Humidifier Troubleshooting breaks down common faults, clear diagnostic steps, safe fixes, and prevention tips. Read on for step-by-step help you can use today to restore mist, stop leaks, and keep your Crane humidifier running longer.
How Crane humidifiers work and why that matters
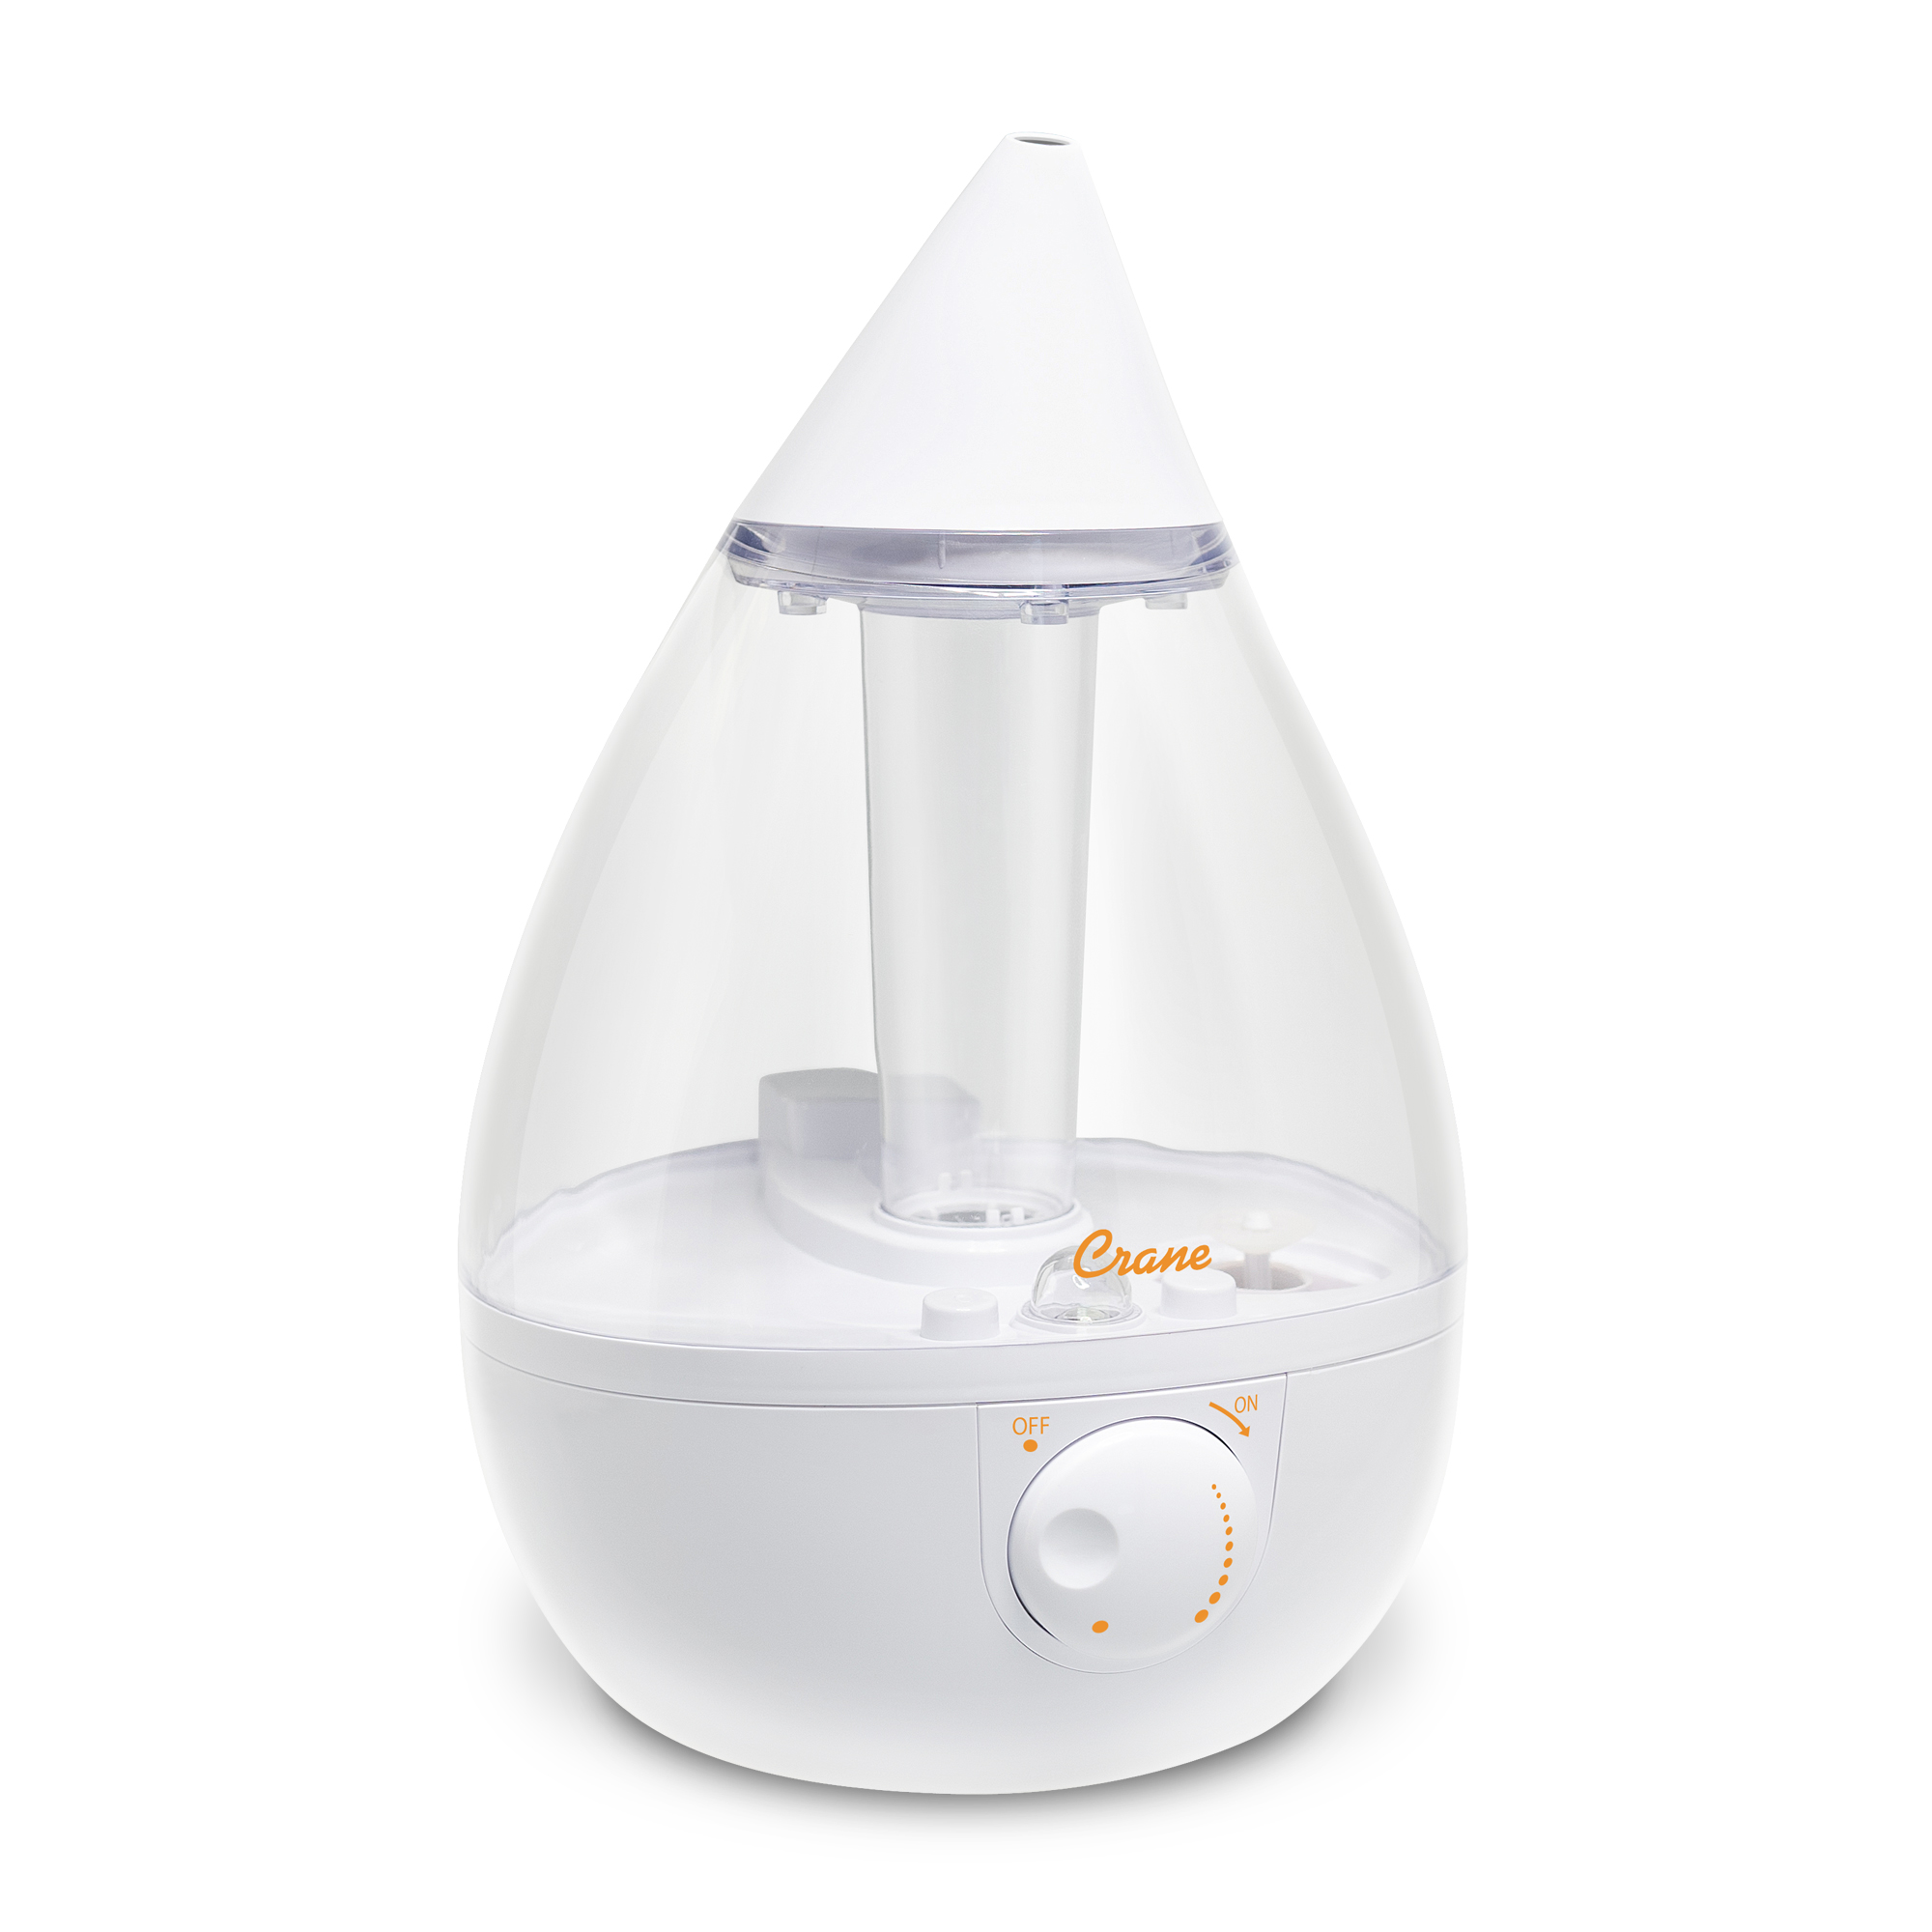
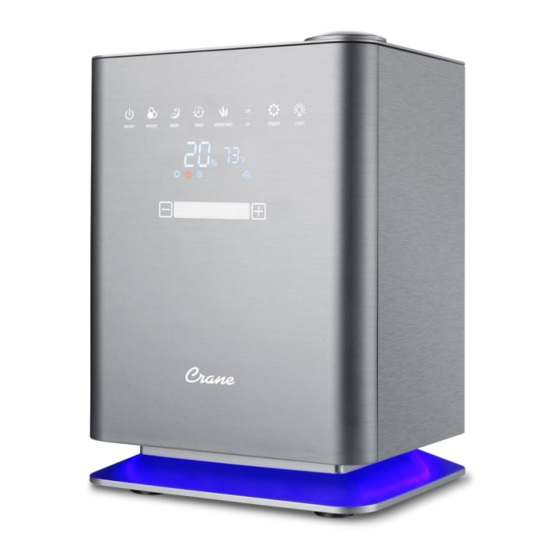
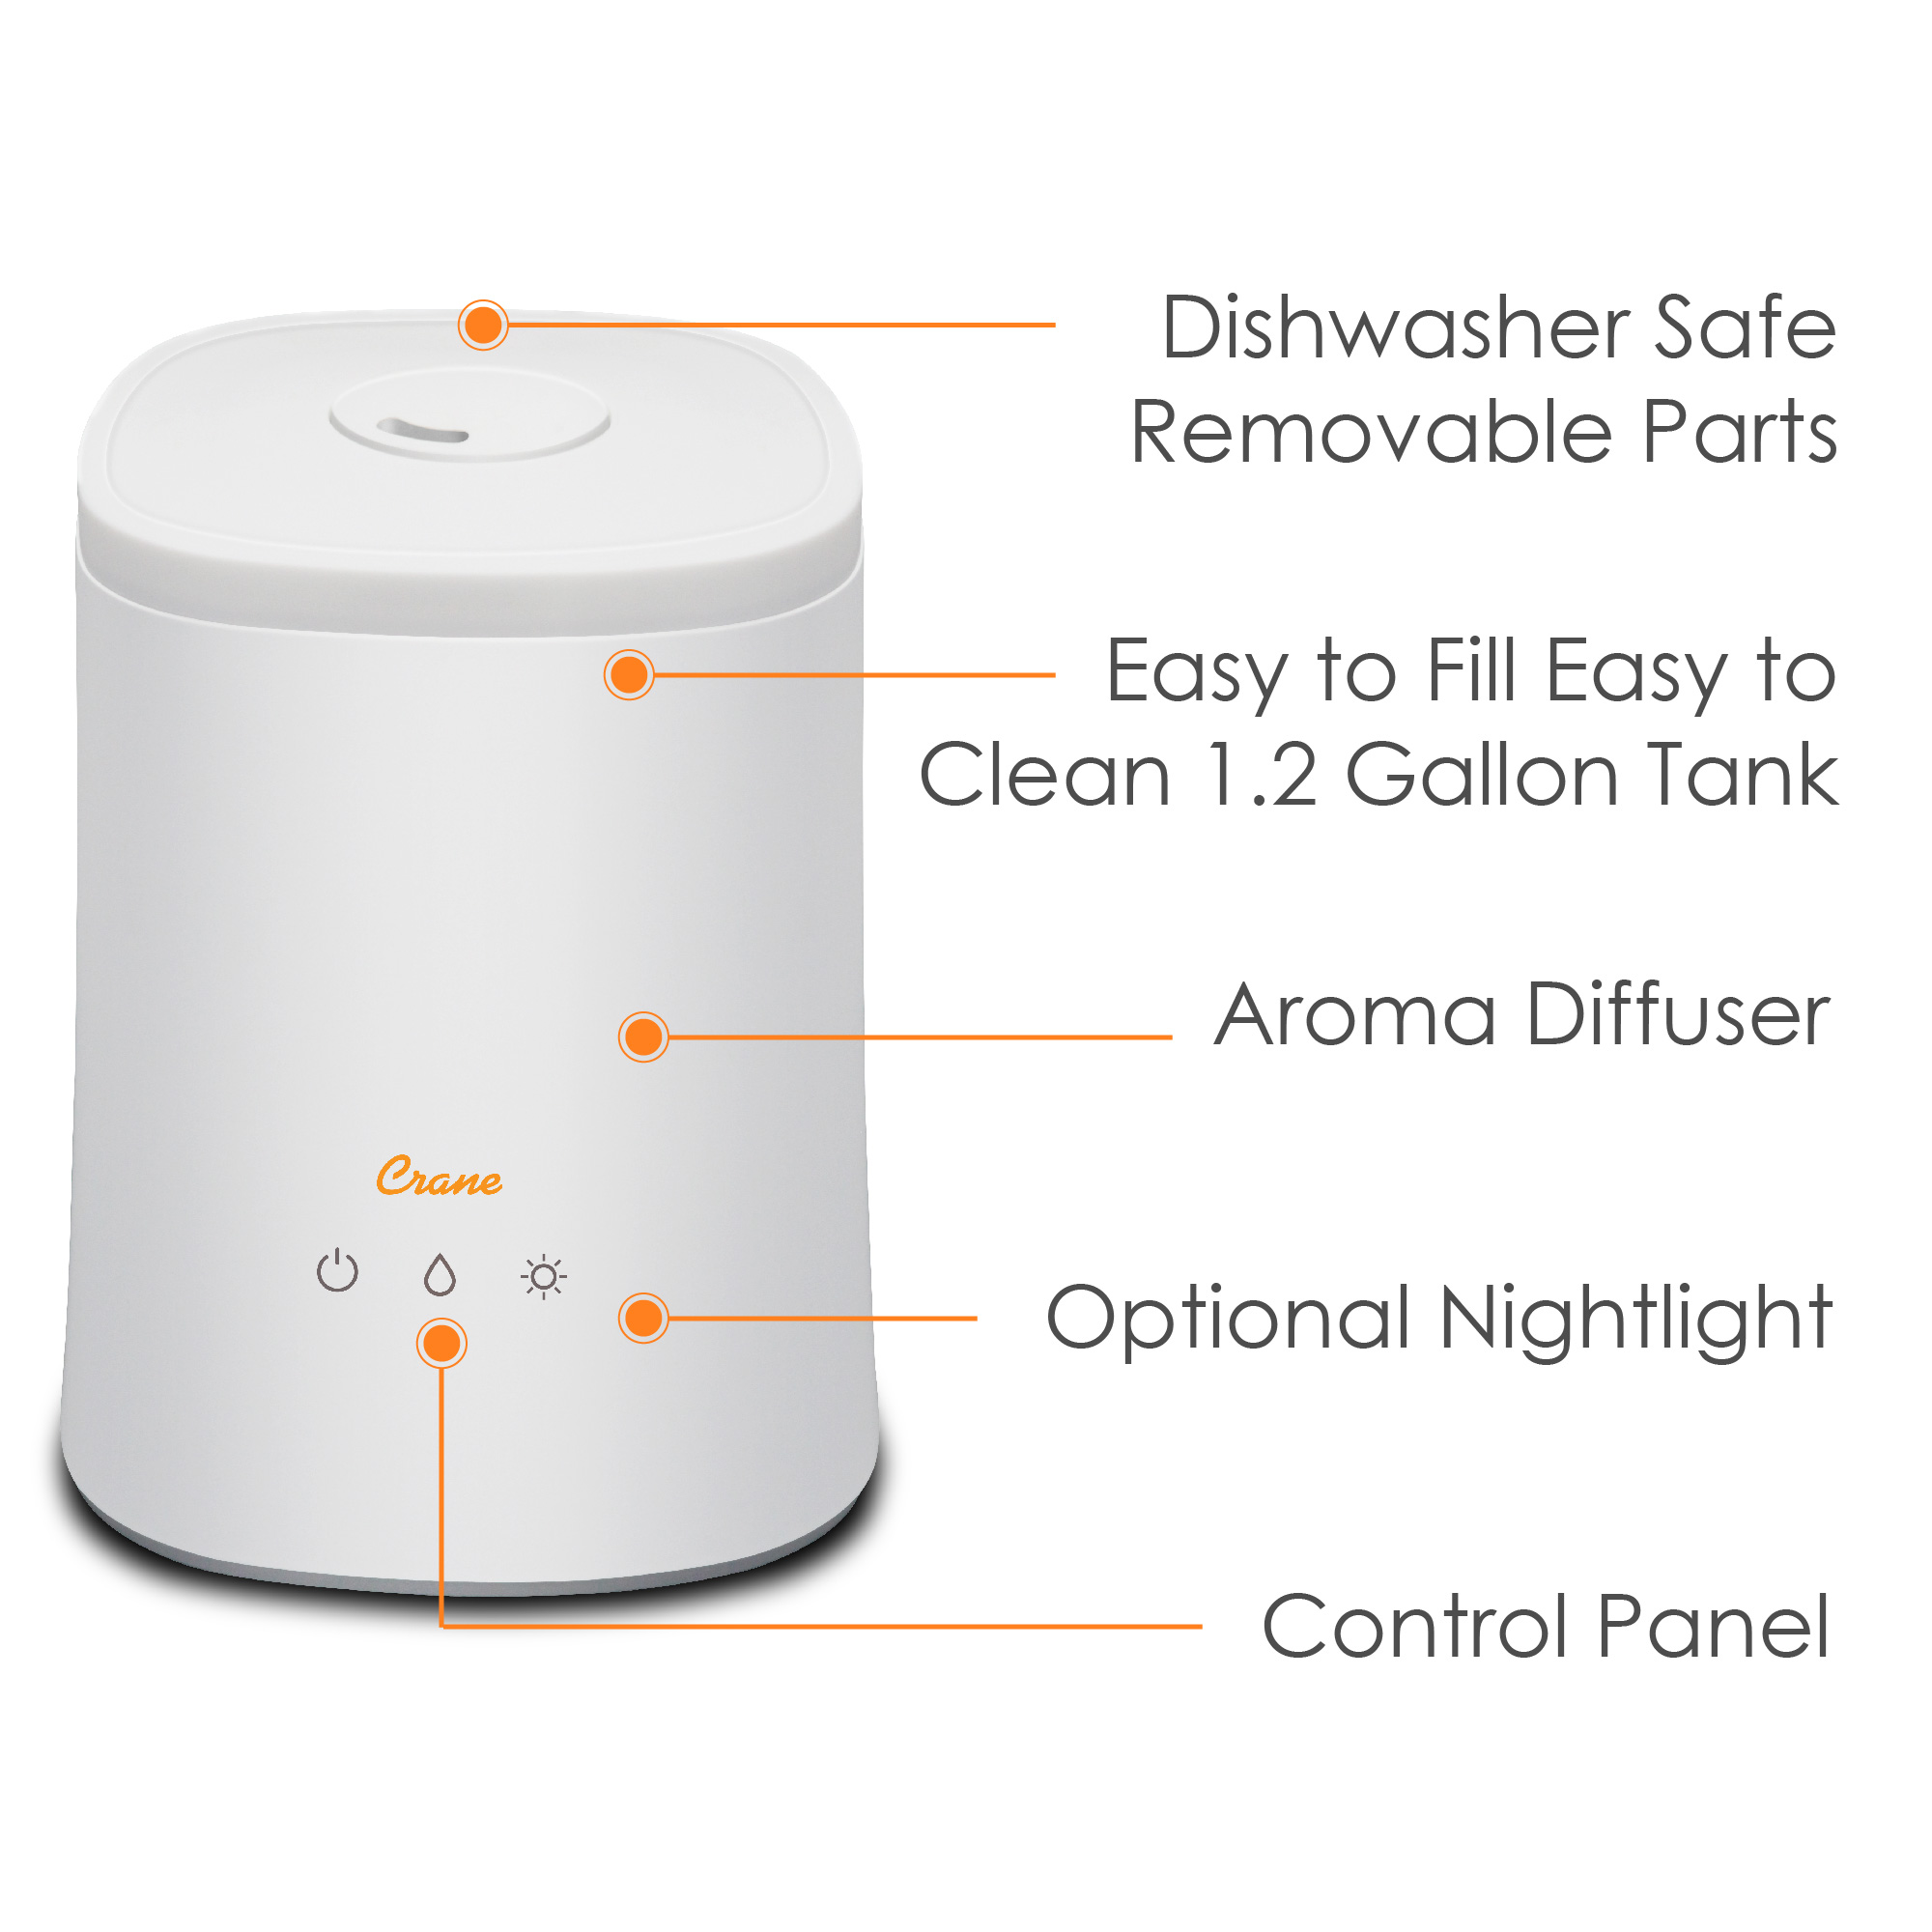
Crane makes mostly ultrasonic cool-mist and warm-mist models. Ultrasonic units use a vibrating disc to turn water into a fine mist. Warm-mist models heat water to create steam. Both types rely on clean water, a sealed tank, and small moving parts to work well.
Knowing how your unit works helps with Crane Humidifier Troubleshooting. For example, low mist often means the ultrasonic disc or heating element is blocked. A leak usually comes from a cracked tank seal or improper tank seating. Simple checks often fix the issue quickly.
Exclusive Deals
Limited-time Exclusive Deals. Check current discount on Amazon.
Check Price on Amazon As an Amazon Associate I earn from qualifying purchases.
Common problems and causes
Below are frequent problems you will see with Crane humidifiers, what causes them, and quick fixes.
-
No power or unit won’t turn on
- Cause: Faulty outlet, bad power cord, or internal fuse.
- Fix: Test outlet, try another cord if possible, and check power base for cracks.
- Crane Humidifier Troubleshooting tip: unplug before inspecting.
-
Unit runs but produces no mist
- Cause: Mineral build-up on the ultrasonic disc or clogged port.
- Fix: Clean the disc with white vinegar and a soft brush per the manual.
-
Reduced mist output
DealExclusive Deals
Limited-time Exclusive Deals. Check current discount on Amazon.
Check Price on Amazon As an Amazon Associate I earn from qualifying purchases.- Cause: Low water level, dirty tank, or blocked mist nozzle.
- Fix: Refill tank, clean the tank, and inspect the nozzle for debris.
-
Leaking water
- Cause: Tank not seated correctly, cracked tank, or broken gasket.
- Fix: Reseat tank, dry gasket, and replace damaged parts.
-
Strange smell or white dust
- Cause: Bacterial growth or high mineral content in tap water.
- Fix: Regular deep cleaning and use distilled water to prevent deposits.
-
Loud noise or vibrating
- Cause: Incorrect placement on an uneven surface or loose base.
- Fix: Place on a flat, level surface and tighten base components.
Crane Humidifier Troubleshooting often comes down to cleaning, correct water, and proper placement. Small routine steps remove most issues.
 troubleshooting guide”
style=”max-width: 100%; height: auto; border: 2px solid black; border-radius: 10px; display: block; margin: 0 auto;”
loading=”lazy”
/>
Step-by-step troubleshooting guide
Follow this flow to diagnose most problems in minutes.
- Safety first: unplug the humidifier and empty the tank.
- Visual check: inspect tank, base, cord, and power plug for damage.
- Power test: plug into a known working outlet; try another device in the same outlet.
- Water level: ensure the tank has enough water and is seated fully.
- Clean the mist source: follow the manual to clean the ultrasonic disc or heating element with vinegar.
- Check filters or wicks: clean or replace per the model instructions.
- Test after cleaning: reassemble and run for 10 minutes to verify output.
- If problem persists, note error lights or sounds and contact support.
Use this checklist every time you troubleshoot Crane Humidifier Troubleshooting. It saves time and reduces guesswork.
Cleaning and maintenance schedule to prevent issues
A simple cleaning routine prevents most Crane humidifier problems.
- Daily
- Empty and rinse the water tank. Dry and refill with fresh water.
- Weekly
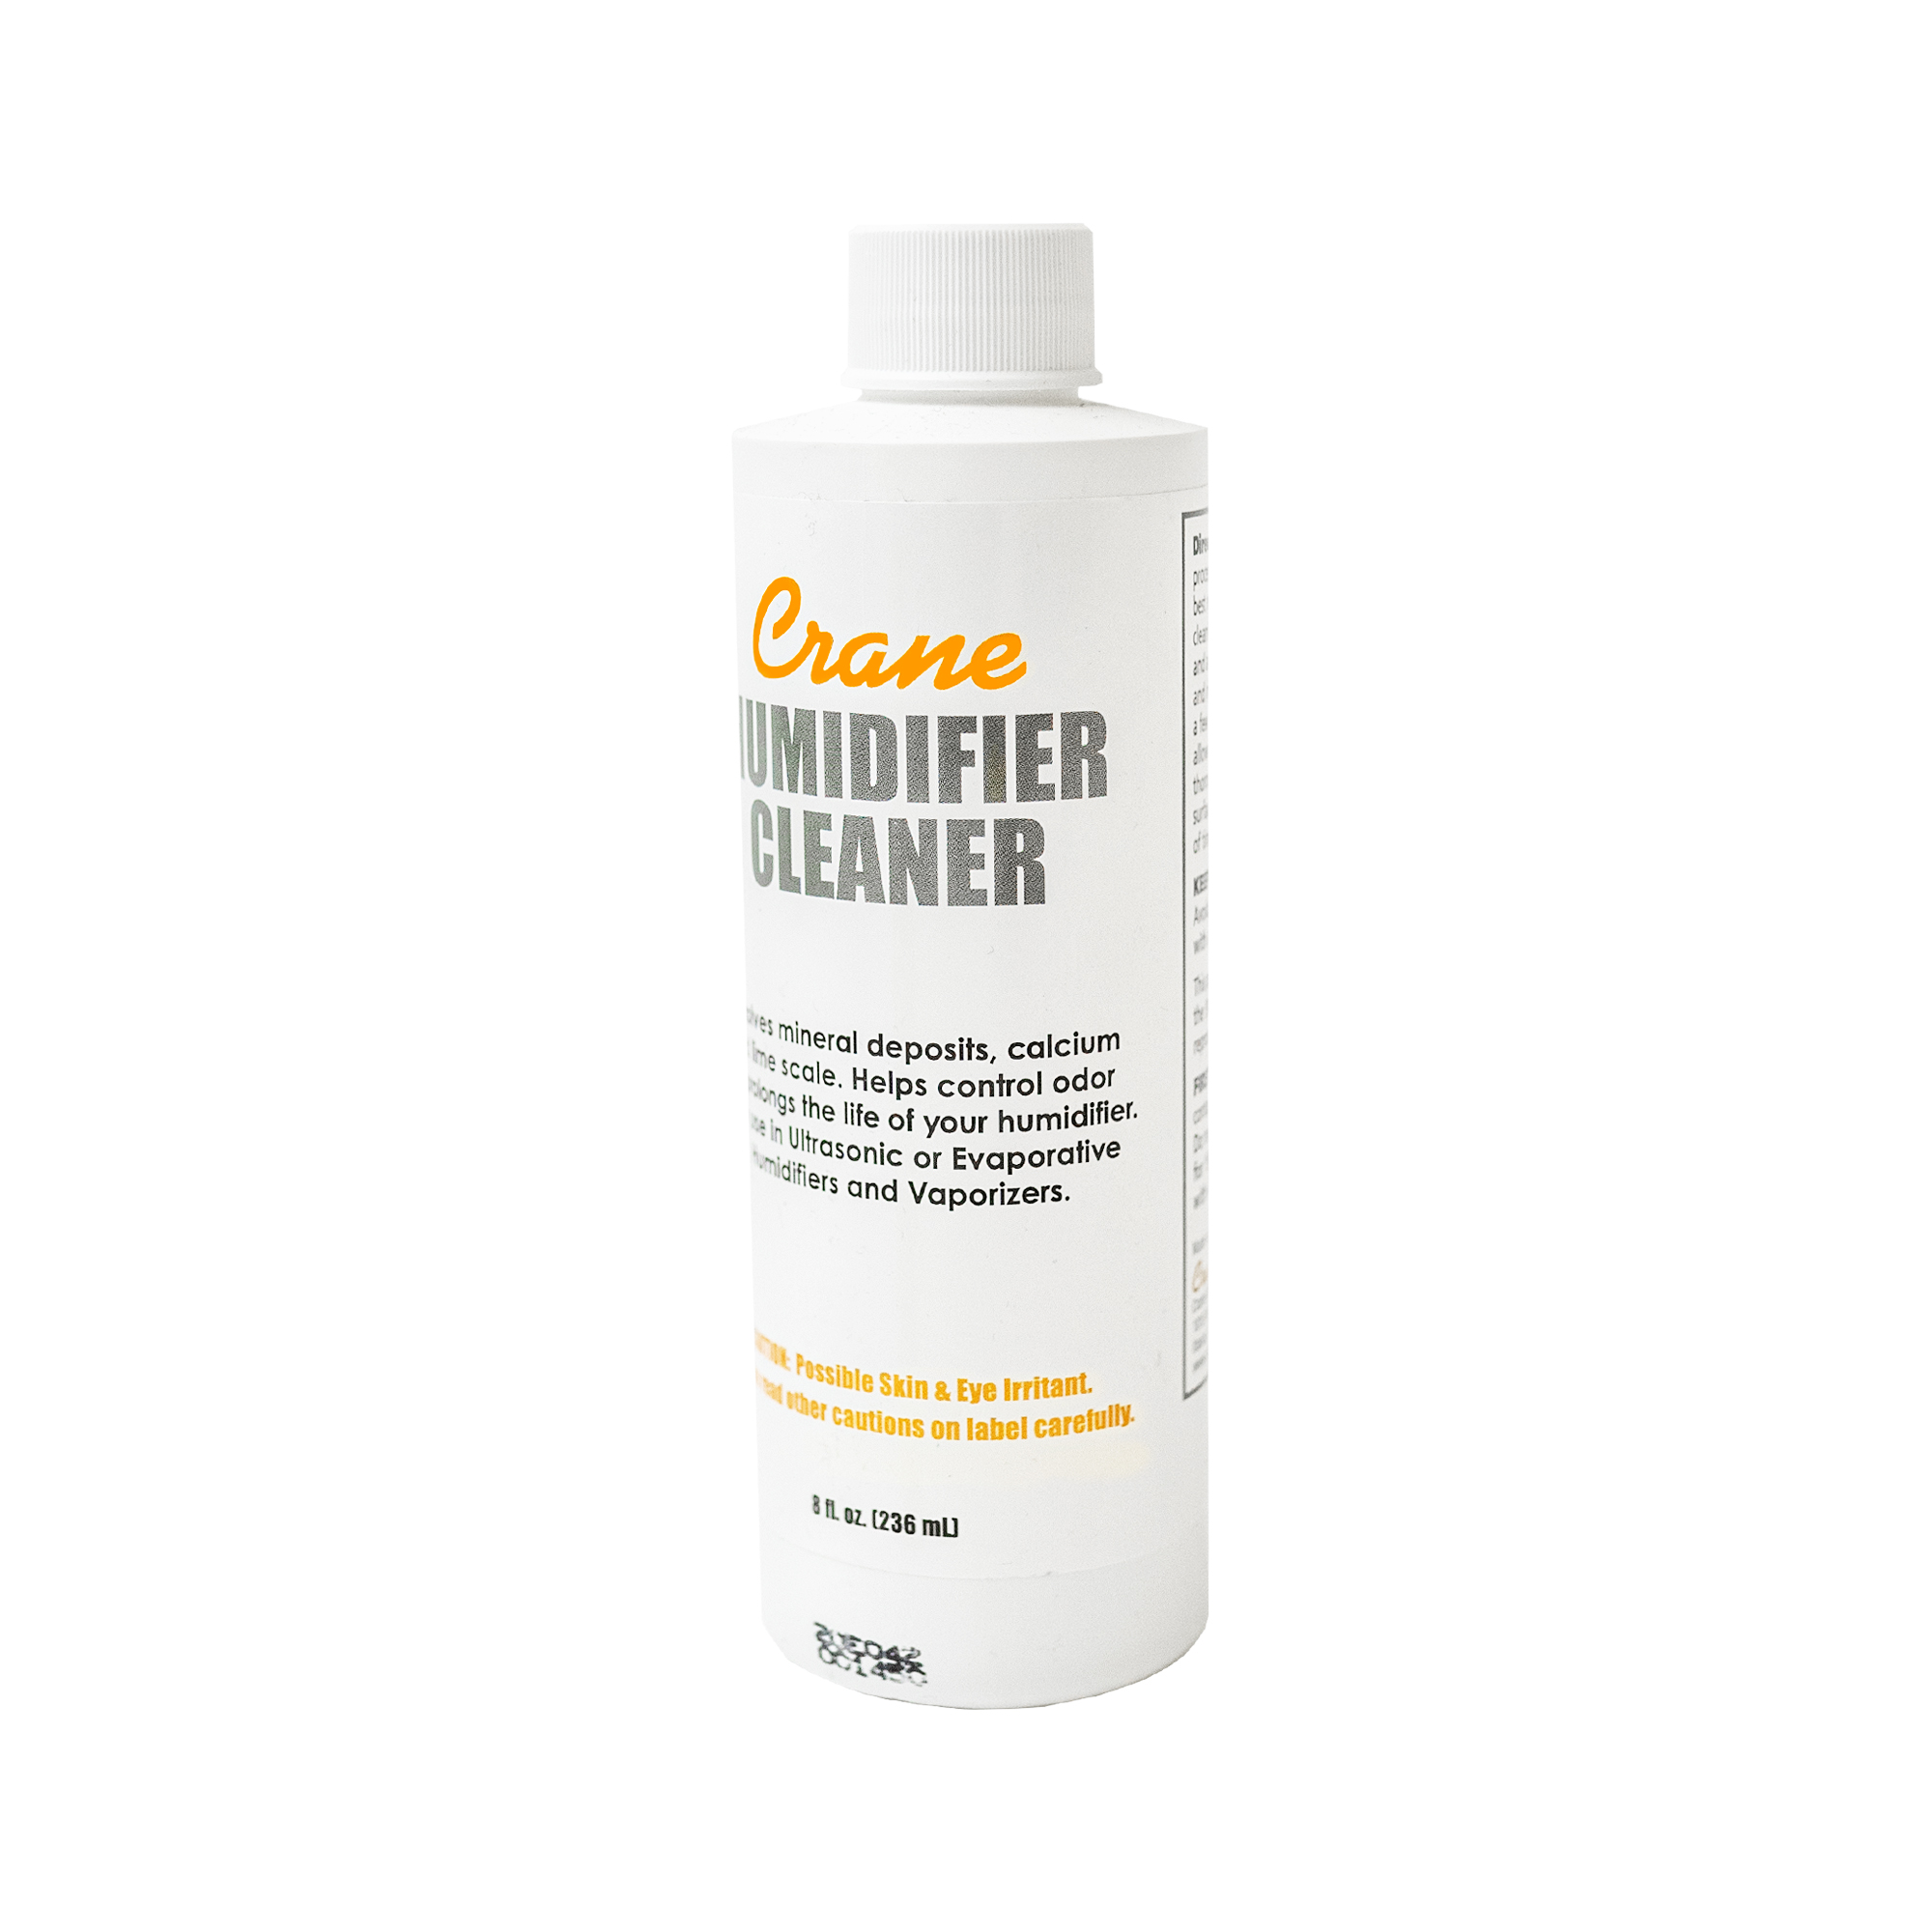
- Deep clean tank and base using a 1:1 white vinegar solution to dissolve mineral scale.
- Monthly
- Inspect and replace filters or wicks if your model has them. Clean the ultrasonic disc gently.
- Seasonal
- Before long-term storage, perform a full clean, dry completely, and store in a cool, dry place.
Use distilled water when possible. Distilled water reduces mineral deposits and white dust. Regular maintenance is the best Crane Humidifier Troubleshooting strategy to keep units working and reduce bacteria growth.
When to contact support or consider replacement
Some issues require professional help or replacement.
- Persistent electrical faults after testing several outlets.
- Cracked tank or damaged heating element that leaks.
- Replacement parts unavailable or cost close to a new unit.
- Unit older than its expected life span and failing often.
If the humidifier is under warranty, contact the manufacturer first. If not, compare repair cost to a new purchase. For safety, do not attempt complex electrical repairs at home.

Parts, DIY repairs, and safety tips
Common parts you might replace or inspect:
- Tank cap and gasket
- Ultrasonic transducer or ceramic disc
- Float valve or water sensor
- Filters and wicks
- Power adapter or cord
DIY tips:
- Always unplug before opening.
- Use soft cloths and non-abrasive cleaners.
- Avoid submerging electrical bases.
- Replace gaskets when brittle to stop leaks.
Safety first: never pour water into the power base and never add essential oils unless your model explicitly allows it. These simple rules improve your Crane Humidifier Troubleshooting success and keep users safe.
People also ask — quick answers
What is the easiest fix for a Crane humidifier not misting?
Clean the ultrasonic disc or heating element with vinegar and soft cloth, then rinse and retest.
Will distilled water help fix white dust?
Yes. Distilled water significantly reduces white dust and extends time between cleanings.
How often should I deep clean my Crane humidifier?
Deep clean at least once a week when in regular use, and more often in hard-water areas.

My experience with Crane Humidifier Troubleshooting
I once repaired a Crane cool-mist unit that produced zero mist. The cause was a thin mineral film on the ultrasonic disc. A 20-minute vinegar soak and a gentle wipe fixed it. From that job I learned: clean often, document the model number, and keep spare seals on hand.
Lessons I share often:
- Don’t force parts; they can snap.
- Photograph assembly steps for easier reassembly.
- Keep a small kit with vinegar, soft brush, and new gaskets.
These practical habits shorten troubleshooting time and avoid repeated mistakes.
Additional tips for optimal performance
Small habits give big benefits.
- Place the unit on a raised, level surface in an open area.
- Aim for 40–50% indoor humidity for comfort and mold prevention.
- Use distilled water and avoid additives not rated for your model.
- Keep the unit away from electronics and direct sunlight.
Following these tips will make Crane Humidifier Troubleshooting easier and help your humidifier last longer.
Frequently Asked Questions of Crane Humidifier Troubleshooting
How often should I replace filters or wicks?
Replace filters or wicks according to the model guide, typically every 1 to 3 months with regular use. More frequent replacement may be needed in hard-water areas.
My Crane humidifier smells musty after cleaning. Why?
A musty smell often means bacteria or mold remains in hidden crevices. Repeat a deep clean, dry all parts fully, and run the unit with distilled water for a short time.
Can I use tap water in a Crane humidifier?
You can, but tap water can cause mineral buildup and white dust. Distilled or demineralized water reduces buildup and cut down cleaning.
Why is my Crane humidifier leaking from the base?
Leaks usually come from an improperly seated tank, damaged gasket, or cracked tank. Inspect seals and reseat the tank carefully before running.
Is it safe to add essential oils to my Crane humidifier?
Only add oils if the manual says it is safe. Most Crane models are not designed for essential oils and can damage parts or void warranties.
Conclusion
Troubleshooting a Crane humidifier is mostly about inspection, cleaning, and correct water use. Start with simple checks: power, water level, seals, and the ultrasonic disc or heating element. Regular cleaning and distilled water prevent most problems and cut repair time. Take action today by scheduling a quick clean and storing essential spare parts. If this guide helped, try the steps now, subscribe for more tips, or leave a comment with your model and problem.